Booting MS-DOS from a USB drive can be useful for applying BIOS updates and other tasks.
Required Tools
- USB flash drive (32GB or smaller)
- A Windows 7/10 PC
Creating the drive
- Download the Rufus tool from rufus.ie
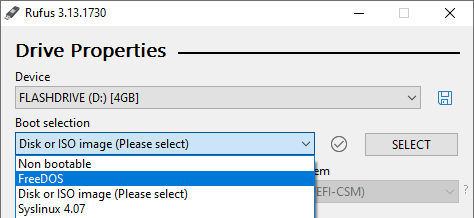
- Launch Rufus
- Under “Device” select your USB drive
- Under “Boot selection” choose “FreeDOS”
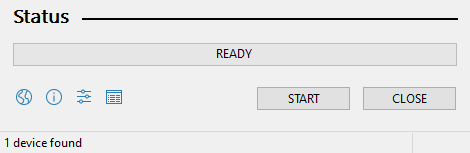
- Click START at the bottom of the window

- Double check you have selected the correct drive and press OK to proceed

- When the status bar says READY, the process is complete
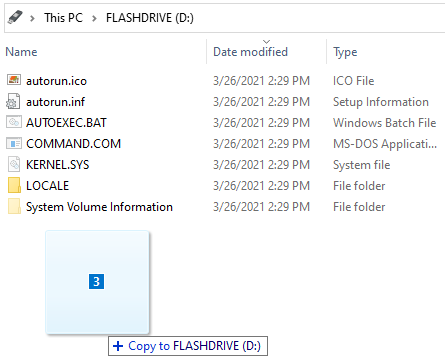
- Copy any files you will need in DOS to the flash drive. If you are applying a BIOS update, copy those files now.
- Eject and unplug the flash drive
Booting to the drive
- Connect the flash drive to the target PC and power it on. Go into the BIOS (Typically F2/Del/Esc) and set it as the primary boot device.
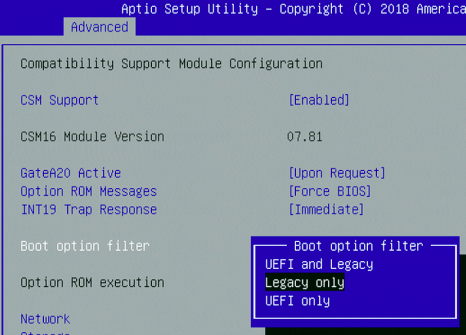
- On newer systems, it is necessary to enable CSM / legacy boot mode as shown.
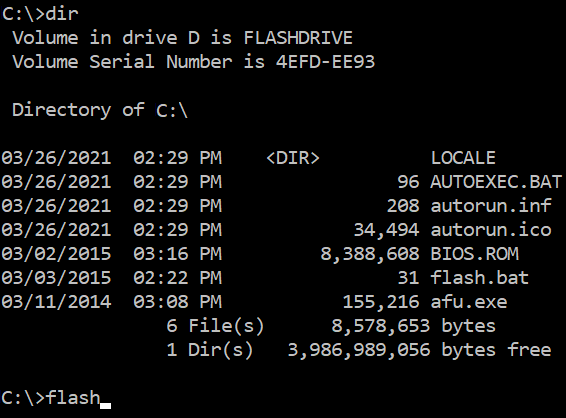
- If successful, you will be greeted with the familiar old DOS prompt.
- Use the dir command to confirm what files are on your USB drive.
- Update .bat files can be executed by typing the filename.