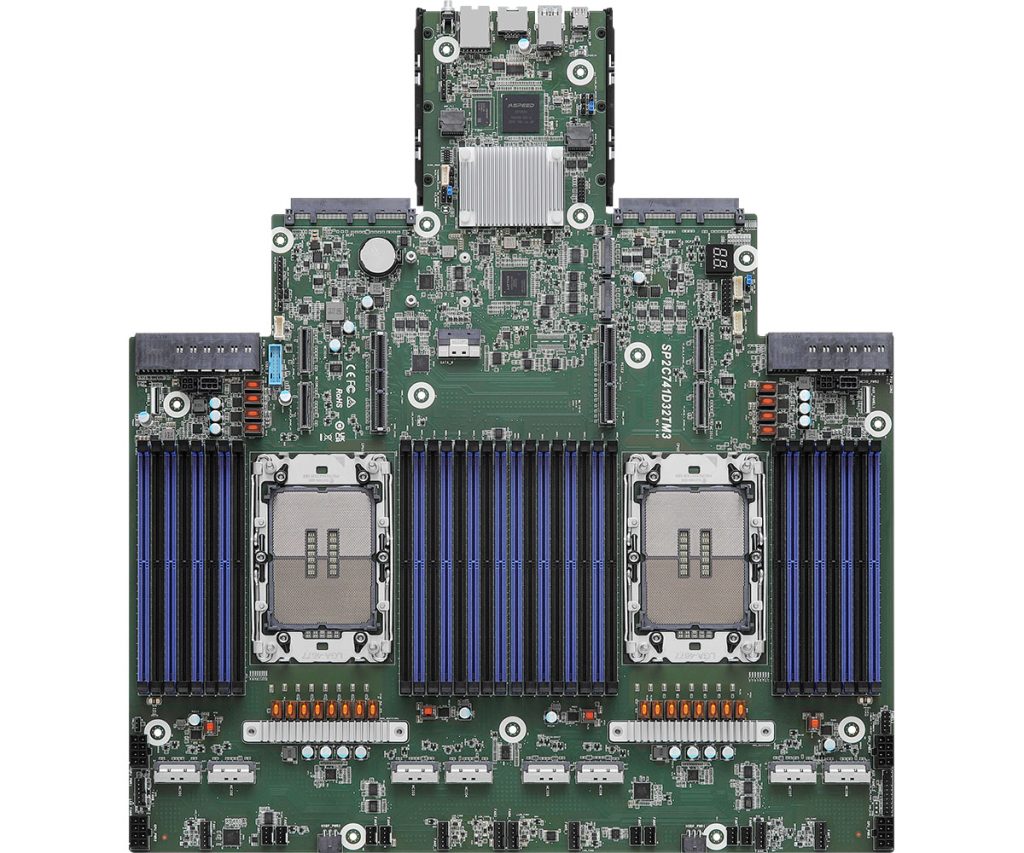
ASRock SP2C741D32TM3 Motherboard
Documentation
BIOS Updates
| Version | Release Date | Link | Description |
|---|---|---|---|
| 10.21 | 5/15/2024 | Download | 1. Support Intel Emerald Rapids-SP CPU 2. Support inventory override VMD device name 3. Update DRAM control item |
| 1.20 | 7/24/2023 | Download | 1. First release 2. AMI 5.29_EagleStreamCrb_0ACOR_073 |
BMC Updates
| Version | Release Date | Link | Description |
|---|---|---|---|
| 02.20.00 | 4/11/2024 | Download | 1. Update sensor readings 2. Support SNMP auth protocal “SHA” & “MD5” 3. Improve WebUI interface 4. Enhance BMC stability |
| 01.25.00 | 7/24/2023 | Download | First released. |
Disassembly
- Remove the screw that secures the top rear cover to the chassis.
- Press the button on the top cover.
- Push the top cover toward the REAR of the chassis to remove the cover from the locked
position. Lift up and remo
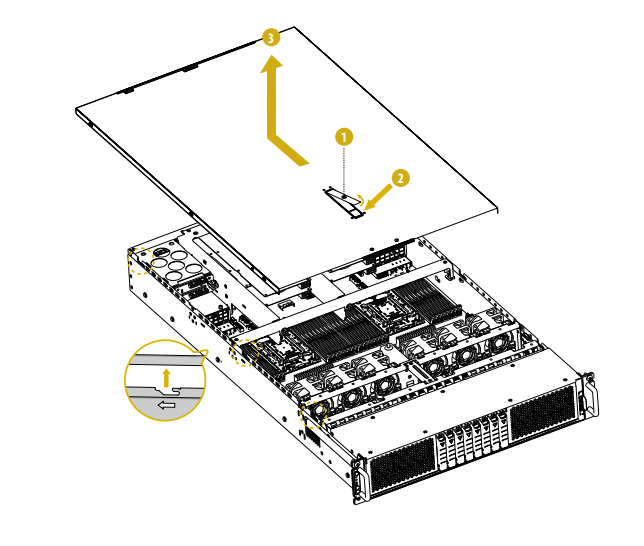
The motherboard should now be accessible. Please see the motherboard manual for a list of all of the component locations.
Further disassembly and part swap instructions can be found in the 2U Server manual.
Enabling Auto Power

- Power on the server and press DELETE repeatedly to access the BIOS
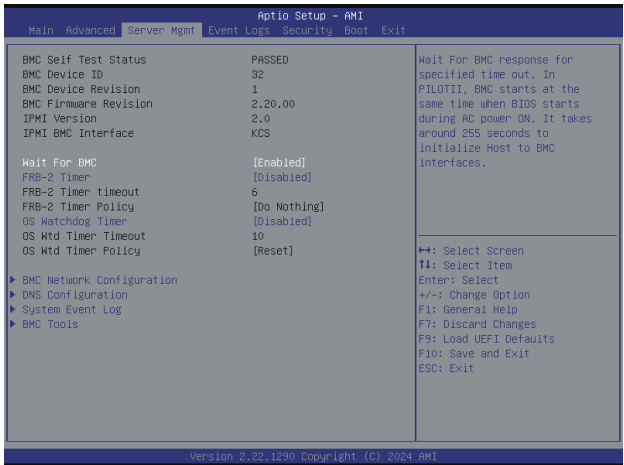
- Navigate to the Server MGMT tab
- Open the BMC Tools menu

- Locate the Restore AC Power Loss option
- Change to “Power On”
Troubleshooting
Clearing the CMOS
If the server fails to power on or is unresponsive, clearing the CMOS may help. It will also restore the BIOS to factory defaults. Ensure this procedure is done in a static safe environment. A grounding strap is recommended.
Please begin by opening the system according to the Disassembly guide above.
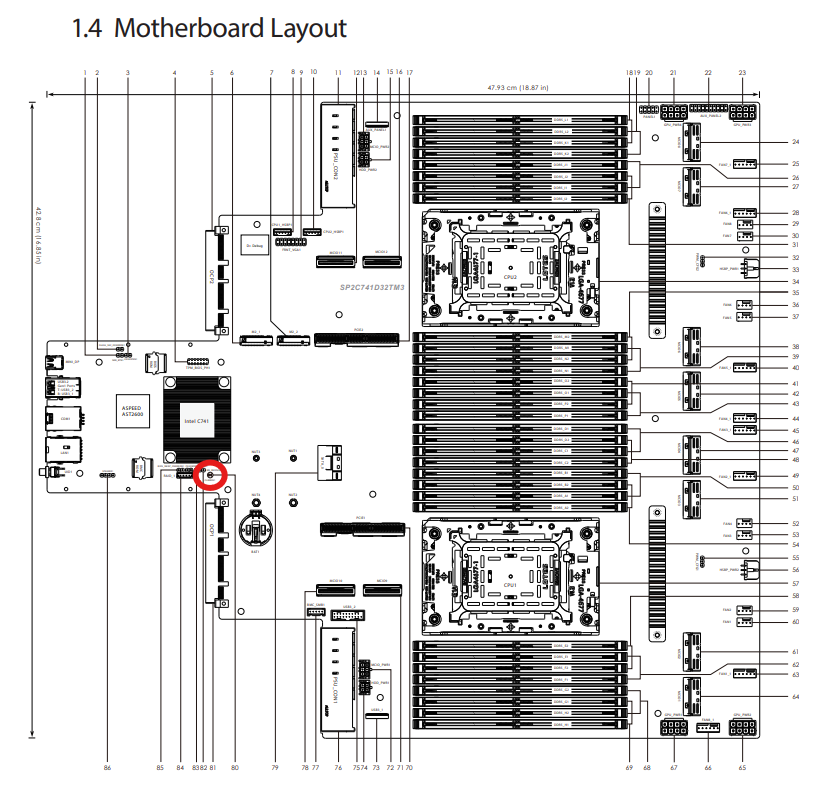
- Locate the Clear CMOS Pad, highlighted here in RED

You can short the pad with a flathead screwdriver. Please hold it in place for 30 seconds to ensure the charge is fully cleared.