
- Begin by removing the top 2 screws from the back of the unit.
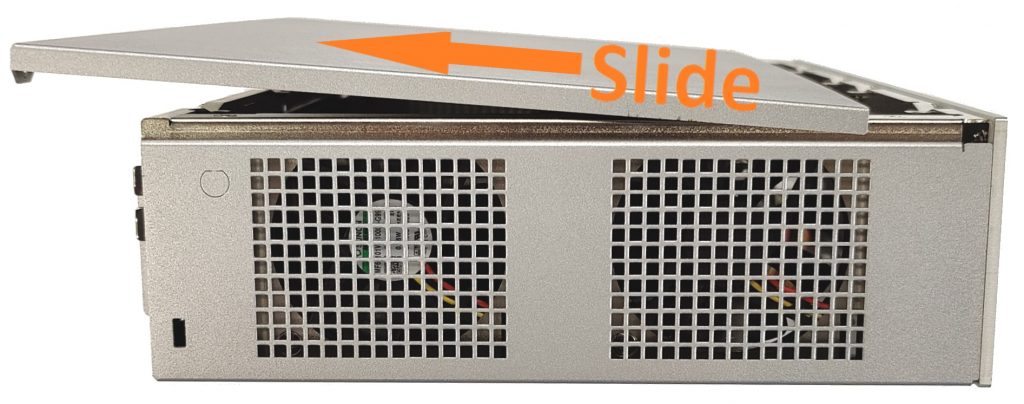
- Slide the lid off towards the back
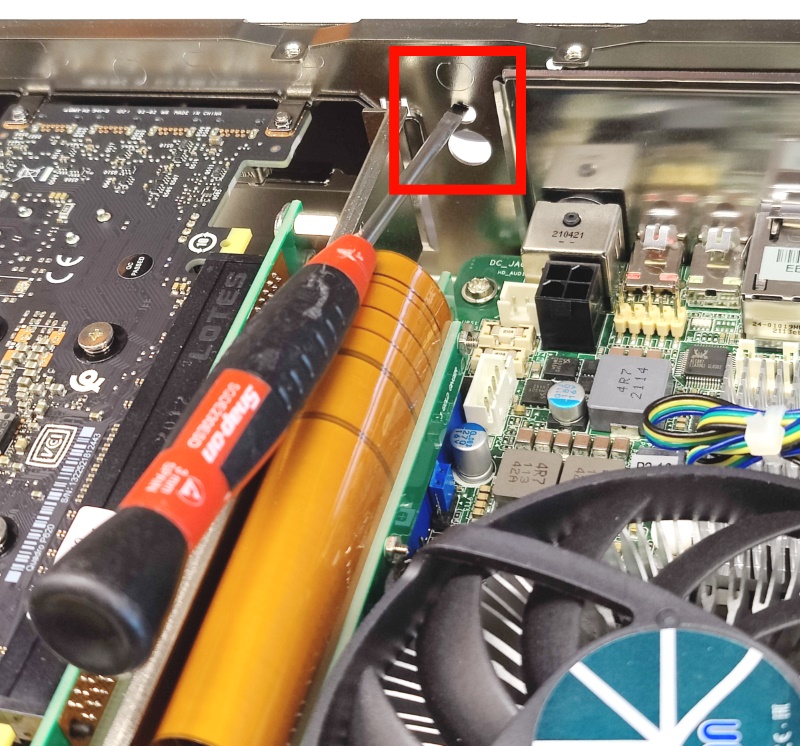
- Use a screwdriver to push out the two knockouts shown
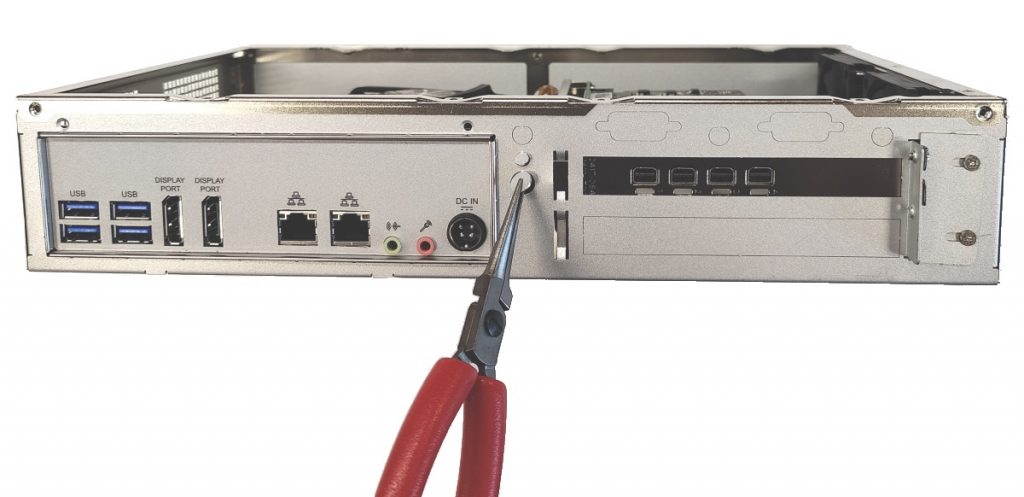
- Grab the knockouts with pliers and twist to remove
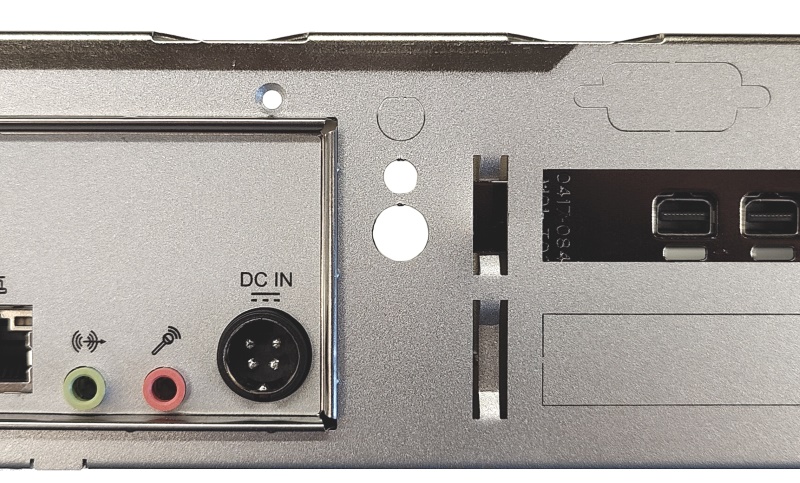
- final result shown
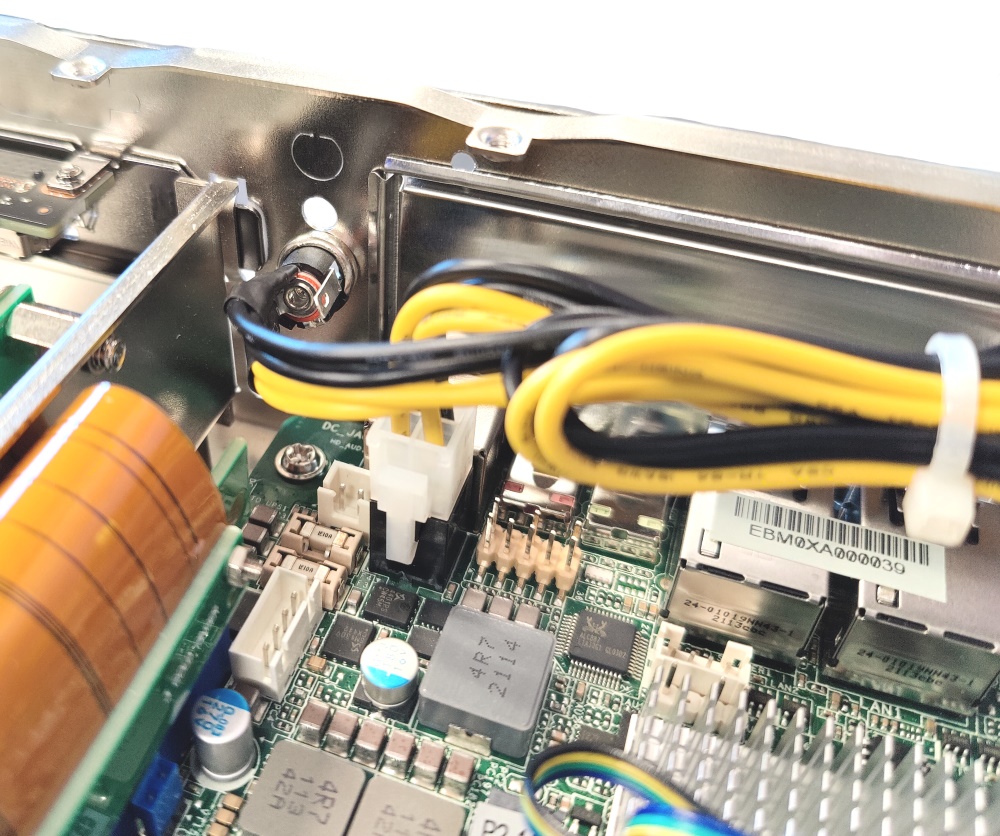
- Connect the 4 pin plug to the motherboard. It only fits 1 way. Push down gently until it clicks in.
- Remove the nut and washer from the DC jack.
- Push the DC jack through the larger of the 2 holes.
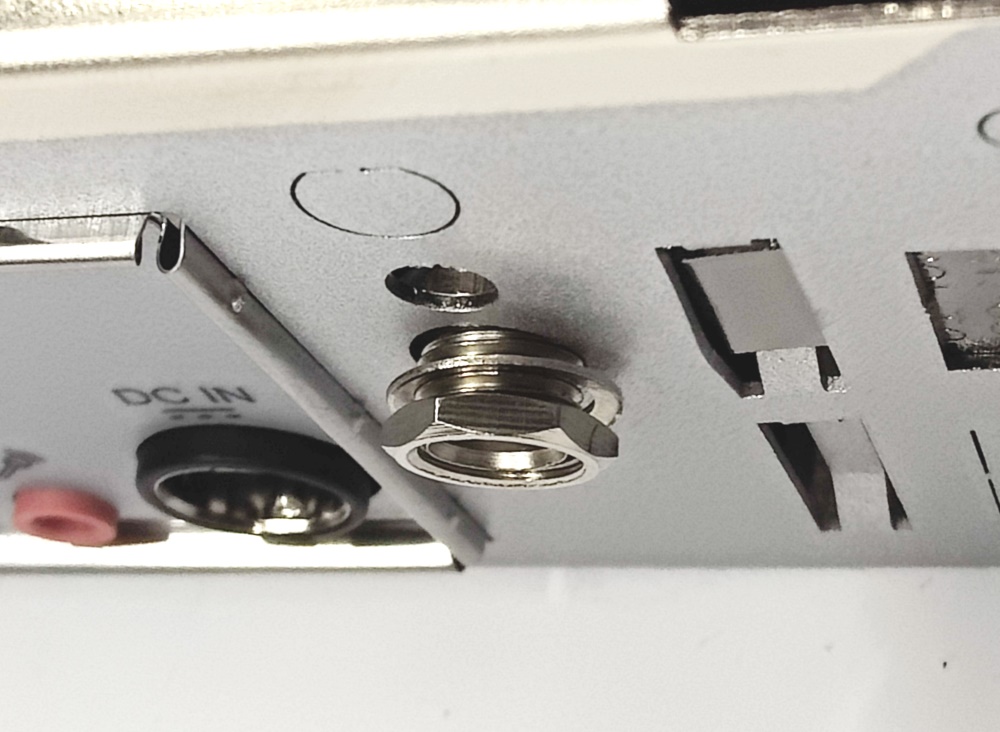
- Install the washer and then the nut onto the DC jack from the outside of the case.
- Hand tighten.
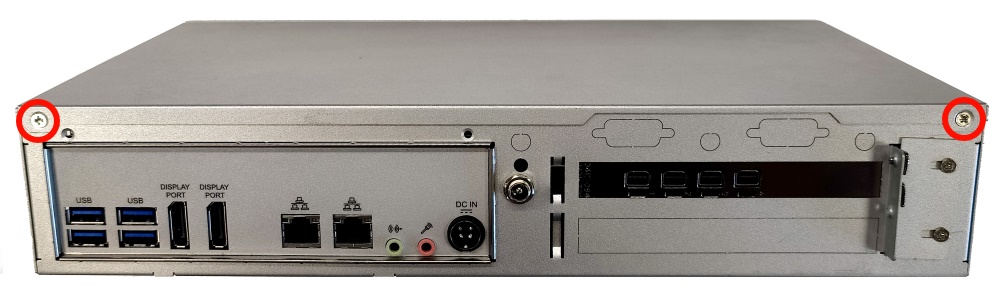
- Slide the lid back on and reinstall the two screws
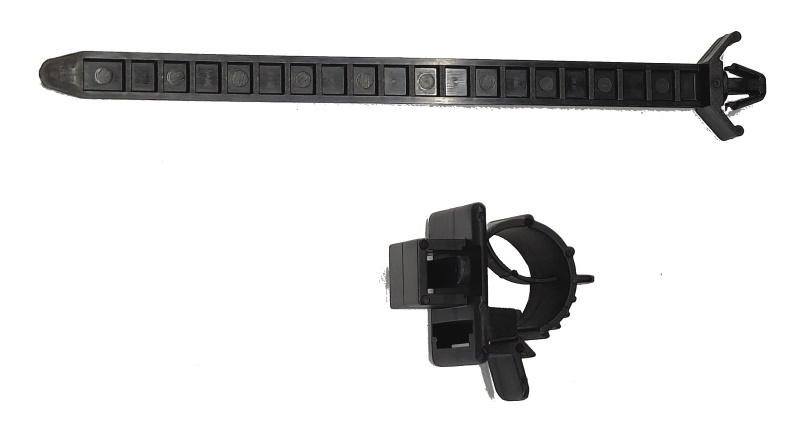
- Grab the retaining zip tie kit
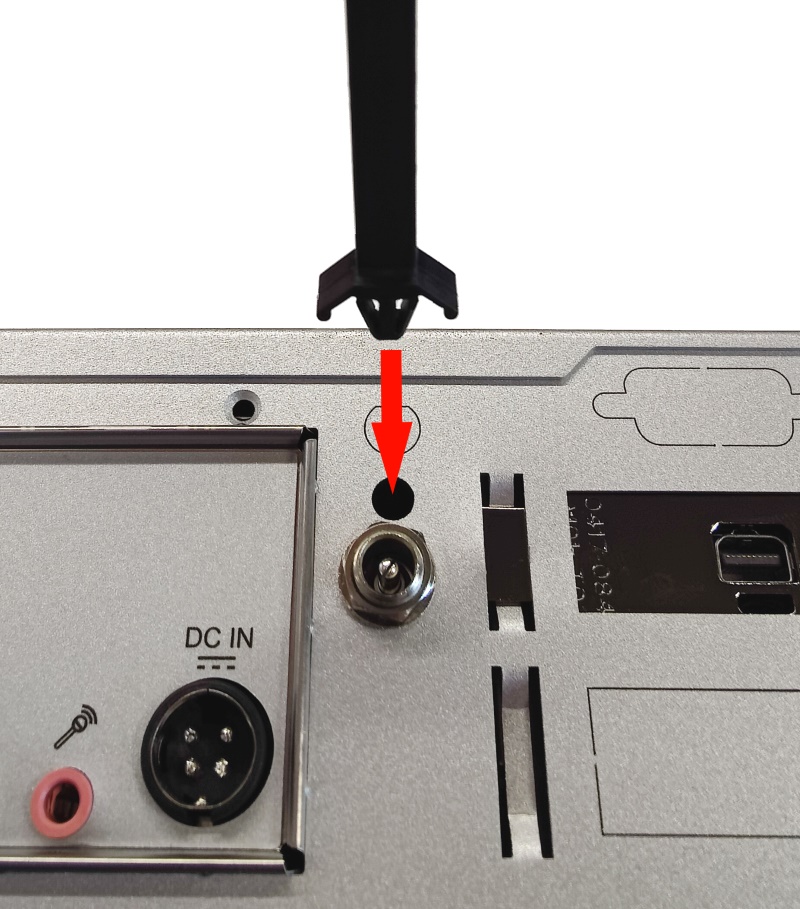
- Push the zip tie into the hole
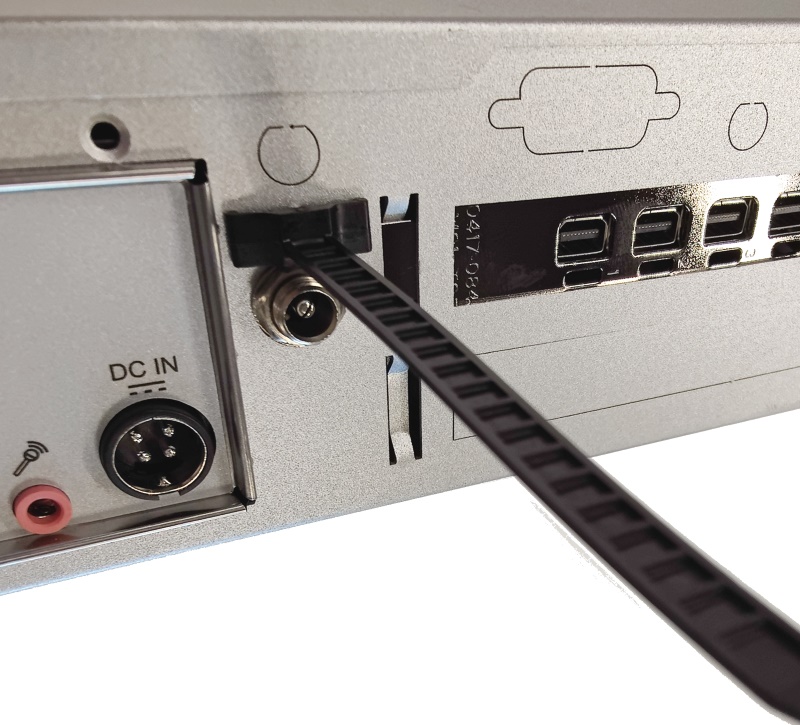
- Face the ribbed side upward
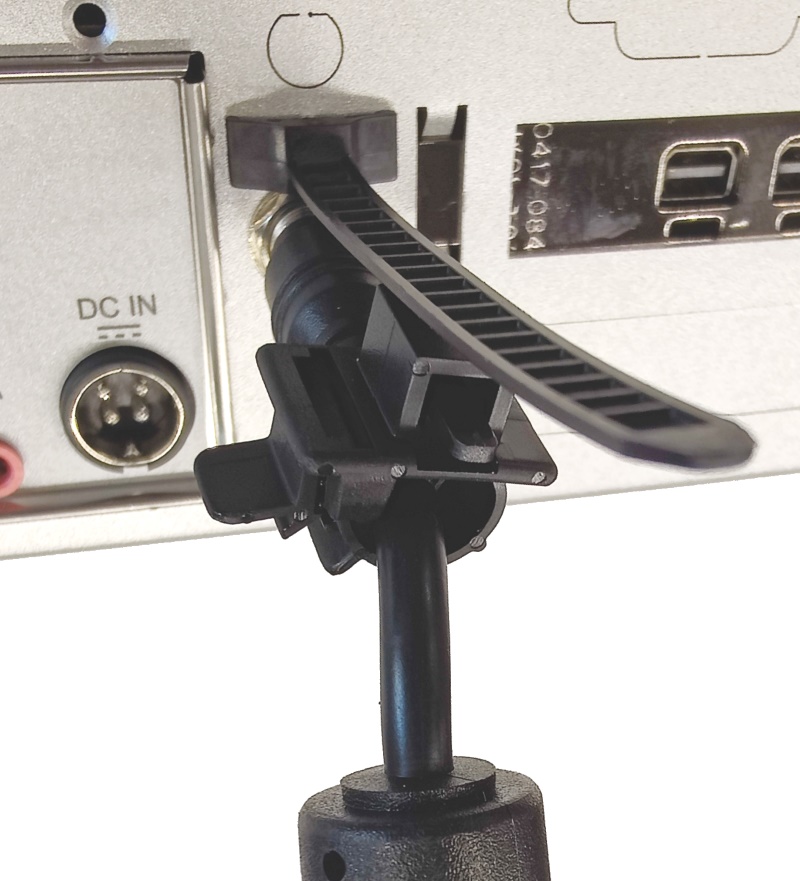
- Attach the clip to the power supply’s cable

- Thread the zip tie through the clip’s hole and snug into place.
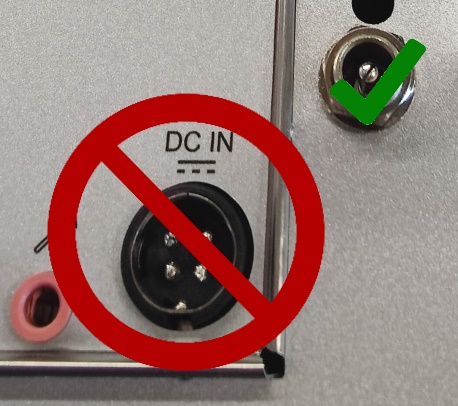
- Use only the newly installed DC barrel jack to power the unit.
- NEVER connect both power connectors at once.