
Drivers and Manuals
Driver INF packages for deployment systems
Enabling Auto Power On
The auto power on feature will turn the Helix system back on after a power loss. This can be useful for automatic recovery after a power outage, or applications where the system’s power button is not easily accessible.
- Power on the unit and immediately press the F2 key a few times to access the BIOS.
- Navigate to the Power tab.
- Change the “Power On after Power Failure” option to “S0-Power On”
- Navigate to the Exit tab.
- Save Changes and Exit.
- The unit will now automatically power on when power is connected.

Disassembly Instructions
Properly opening OnLogic systems does not void the warranty in most cases, however, some precautions are necessary to avoid damaging the system.
- Perform this disassembly in an area free of static discharge and with the system fully unplugged.
- Ideally, wear a grounding strap. If that is not available, regularly touch a grounded metal surface to discharge your body of static electricity.

- Completely unplug the system from power and all peripherals
- Remove 4x Phillips P2 screws from the bottom of the system.

- Pulling evenly from both sides, lift the GPU module straight up off of the system.
- Set the GPU module aside

- Remove 3 screws from the 2.5″ drive tray

- Carefully lift the tray out and unplug the drives (If installed)

- Remove 3 2.5mm hex bolts from the pictured side of the case
- Remove the case plate and set it aside

- Remove 4 hex bolts from the other side of the case.

- Slide the case apart

- The internal components are now accessible, including the CMOS battery, RAM, m.2 SSD, and WiFi/Cellular.
- Disassembling the unit further to remove the motherboard is not recommended and will void warranty.
Accessing the PCI-E slot
- Remove 4x Phillips P2 screws from the bottom of the system.
- Pulling evenly from both sides, lift the GPU module straight up off of the system.

- Remove 3x Phillips P2 screws

- Remove the cover, and the PCI-E slots are now accessible.
Troubleshooting
Clearing the CMOS
If the system fails to power on or is unresponsive, clearing the CMOS may help. It will also restore the BIOS to factory defaults.

- Completely unplug the system from power and all peripherals
- Remove the 2.5mm hex bolts from the pictured side of the case
- Remove the case plate and set it aside

- Locate the CMOS clean button above the USB stack next to the DVI port
- Depress the button for 15 seconds
- Reinstall the case plate and all bolts
- The CMOS is now clear. Power the unit back on and it will reset to defaults. It may reboot several times to reconfigure itself.
- If issues are still observed, contact tech support for further assistance.
Display Troubleshooting / Changing the primary display
By default, the system should be configured to output video out of the graphics card (If equipped). If no video is outputted from the graphics card, try using the onboard displayports instead. If that works, use the steps below to change the primary display.
- Power on the unit and immediately press the F2 key a few times to access the BIOS.
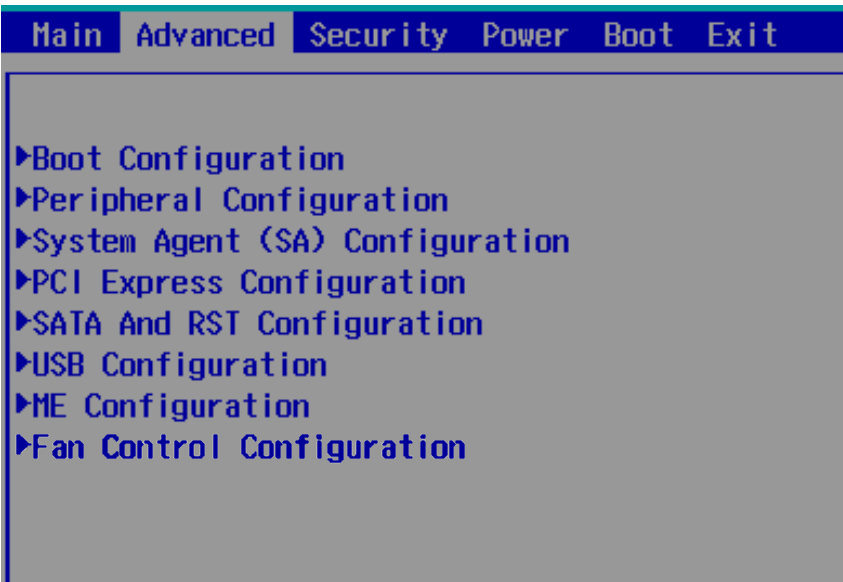
- Navigate to the Advanced tab.
- Open the “System Agent (SA) Configuration” menu
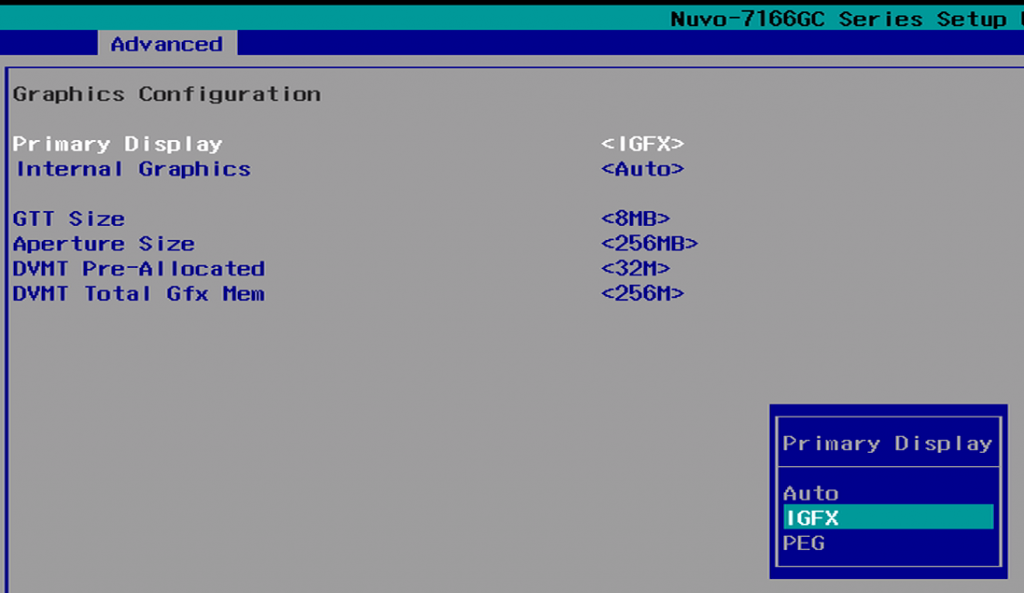
- Open the “Graphics Configuration” menu
- Change the “Primary Display” to IGFX to use the motherboard graphics, change to PEG to use the graphics card
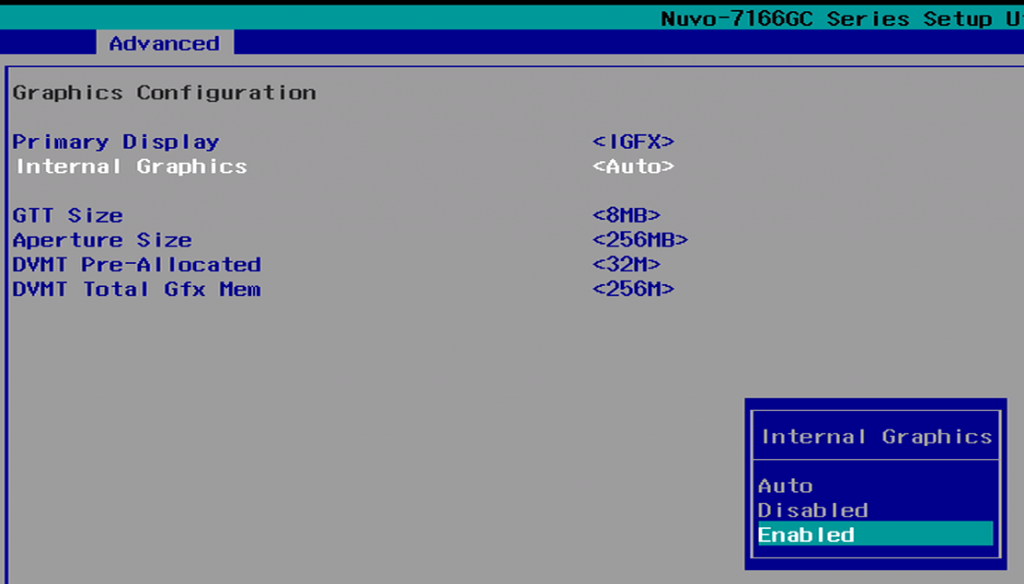
- If desired, set “Internal Graphics” to Enabled to utilize both the graphics card and onboard outputs.
- Navigate to the Exit tab.
- Save Changes and Exit.
Configuring the BIOS for older PCI-E cards
While PCI-E 3.0 slots are backwards compatible with 2.0 and 1.0 cards, the auto detection may fail. If the system does not display video after installing an older PCI-E card, some tweaks to the BIOS may help.

- Power on the PC and Press F2 to access the BIOS
- Navigate to the Advanced tab and open the System Agent (SA) Configuration

- Open the PEG Port Configuration
- Change the max link speed to Gen1
- Save and Exit the BIOS
- Reinstall the PCI-E card
RAID Configuration
Refer to page 123 in the User Manual.