Downloads
Drivers & User Manual:
https://www.cincoze.com/goods_info.php?id=285
Replacement Power Connector
If you need an additional mating connector for your system’s power port, you can acquire our CBP123 component from our website, here.
Enabling Auto P0wer On
The DC-1200 has two options for auto power on. In this section we will go over the two options step by step.
Option 1: Hardware
The easiest of the two methods to auto power on the DC-1200 is to use the switch on the front side of the unit. Remove the two Torx T10 screws from the plate as shown below.

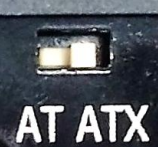
- Slide the AT ATX switch to control the auto power on feature
- AT = auto power on enabled
- ATX = auto power on disabled
The downside of this method is that the power button is completely disabled. If you shut down the PC, you will need to cycle power to restart it. If that is an issue for your use case, use option 2 instead.
Option 2: BIOS
- Power on the system and immediately press the Del key a few times to access the BIOS.
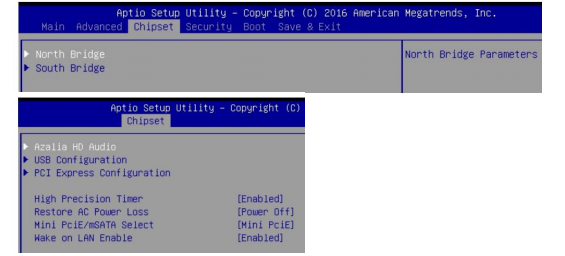
- Navigate over to the Chipset tab and open the South Bridge menu.
- Change the option REstore AC Power Loss to [Power on]
- Navigate to the Save & Exit tab and choose “Save Changes and Reset”
Troubleshooting
How to clear the CMOS
Performing a CMOS clear can help recover the system if it fails to boot up.
- Begin by removing the two Torx T10 screws from the plate as shown below.
Note: Make sure the system is completely unplugged. This includes power and all other connectors.

- Slide the Clear CMOS switch to the left
- Leave the switch in the left position for 30 seconds
- Move the switch back to its original right position.
- Plug in and power up the system. Let it sit untouched for two minutes. It may reboot several times to reconfigure everything.