
User Manual & Drivers
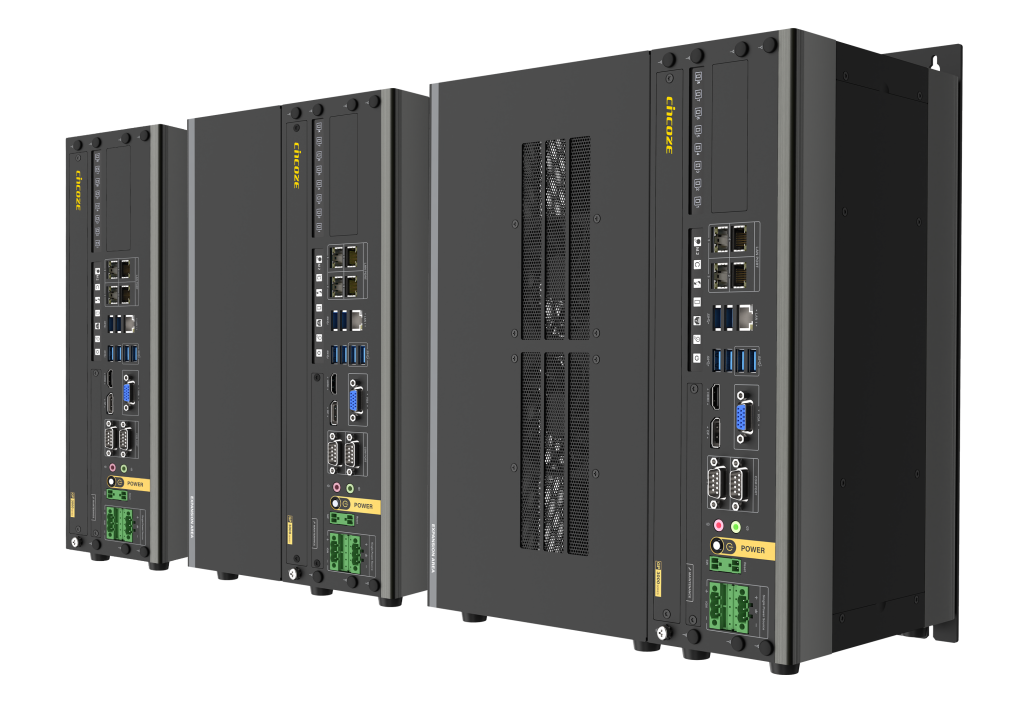
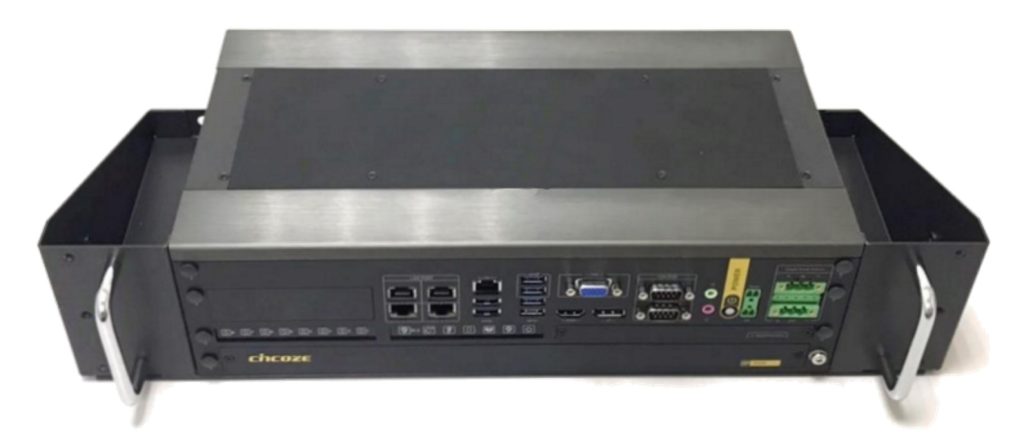
This system is designed by our partner Cincoze. The user manual and drivers can be downloaded from the following link.
https://www.cincoze.com/goods_info.php?id=348#tab-4
Frequently Asked Questions (FAQ)
Why are there two power input terminals?
Terminal blocks are limited to 10 amps each. In lower voltage configurations, this system can draw over 10 amps. A second connector is provided to distribute the load. It is required to connect both terminal blocks if a graphics card is installed. It is recommended to screw the terminal blocks in to avoid accidental disconnection. This can cause damage under high power load.
Replacement Power Connector
If you need an additional mating connector for your system’s power port, you can acquire our CBP123 component from our website, here.
How to Enable Auto Power On
The DS series has two options for auto power on. The easiest and most reliable method is to use the hardware switch on the front. The downside of this method is that the power button is completely disabled. If you shut down the PC, you will need to cycle power to restart it. If that is an issue for your case, use option 2 instead.
Option 1: Hardware
- Remove the two Torx T10 screws from the front maintenance panel.

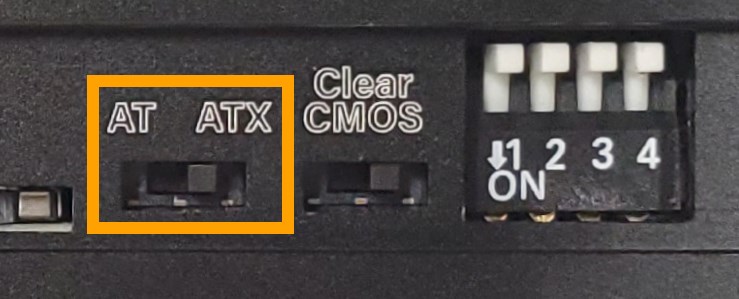
- Underneath the panel you will find a switch labeled AT/ATX.
- Slide the switch to AT mode.
- Auto power on is now enabled.
Option 2: BIOS
- Power on the system and immediately press the Del key a few times to access the BIOS.
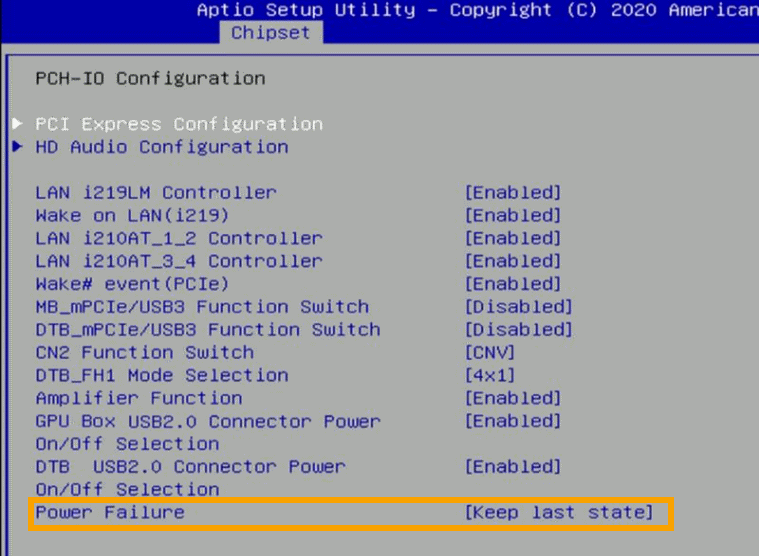
- Navigate over to the Chipset tab and open the PCH-IO Configuration menu.
- Change the “Power Failure” option to [Always on].
- Press F10 to Save Changes and Restart

Troubleshooting
How to Clear CMOS
Common bootup and power problems can be resolved through a CMOS reset.
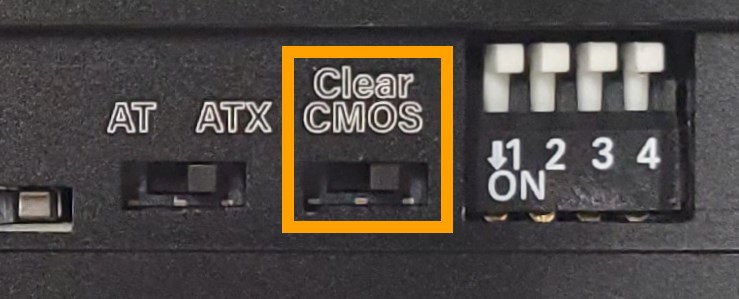
- Remove the two Torx T10 screws from the front maintenance panel.

- Locate the clear CMOS switch.
- Move the switch to the clear position (left)
- Wait 30 seconds.
- Restore the switch to the normal position. (right) The CMOS is now clear.
