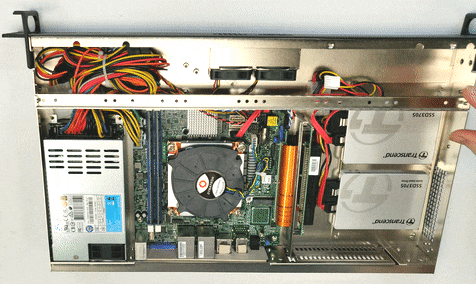
This page has instructions for upgrading the 300 watt power supply in an MK150B-54 series computer to a 500 watt power supply.
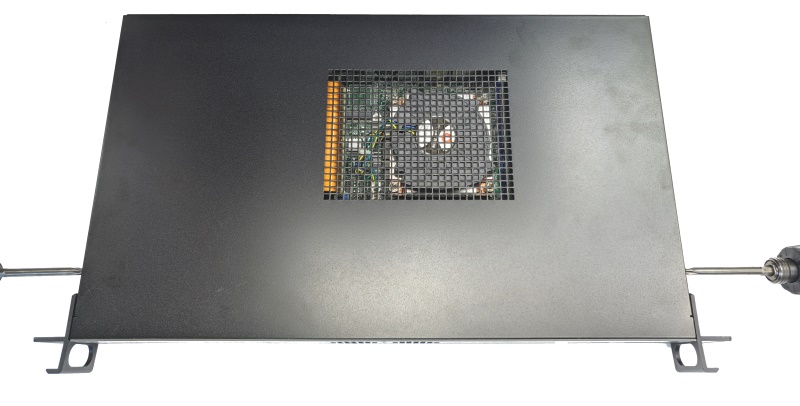
- Begin by removing the two lid screws – one on each short side of the case.
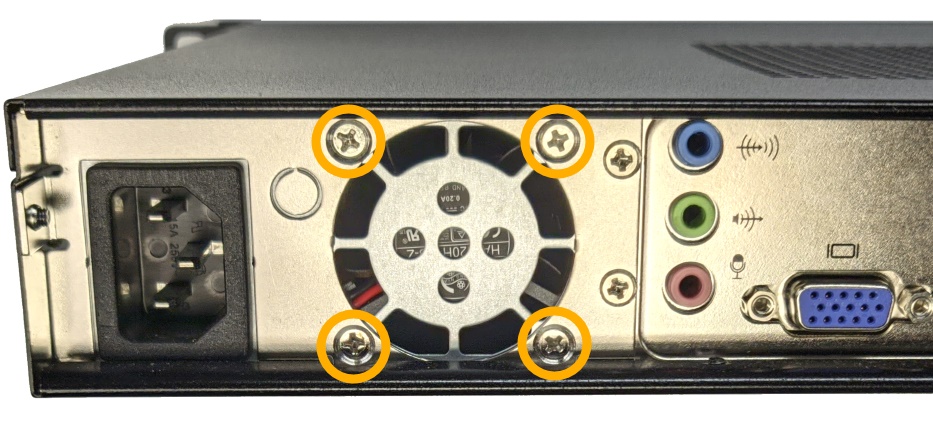
- Remove 4x screws from the power supply. Discard the larger 2 screws from the left holes.
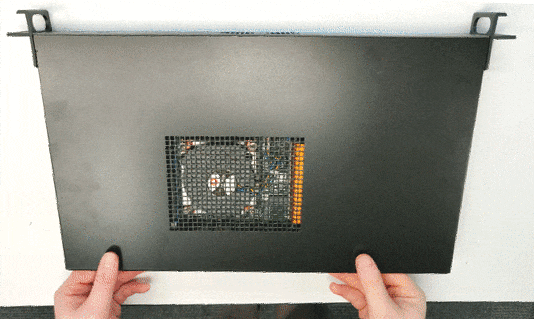
- Pull the lid back 2″ and lift it up
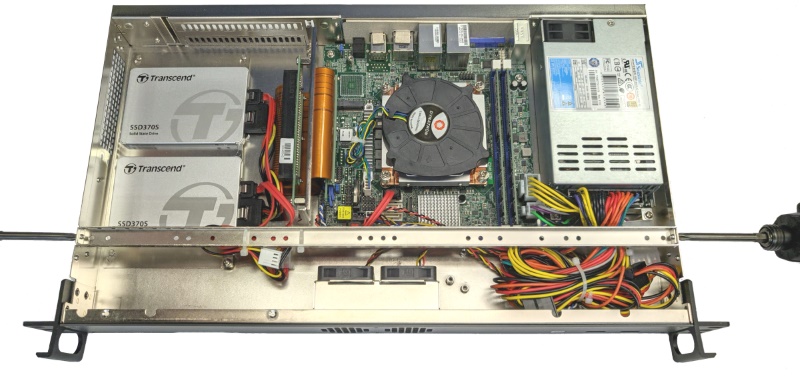
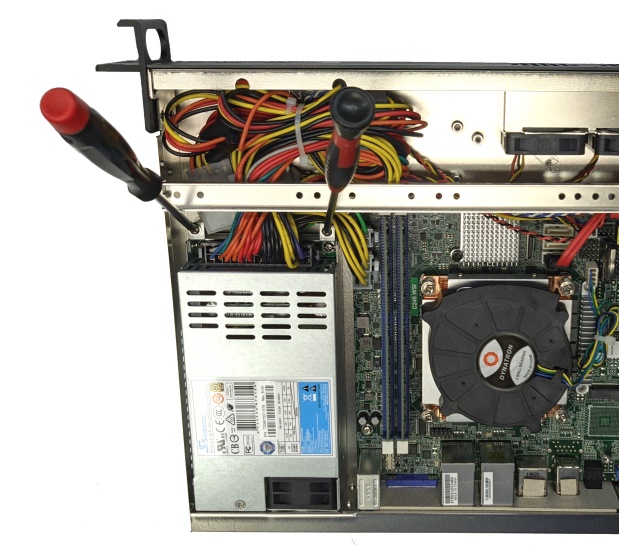
- Remove 2 screws from the crossmember. Cut all zip ties along the crossmember.
- Lift the crossmember out
- Remove 2 screws from the back of the power supply
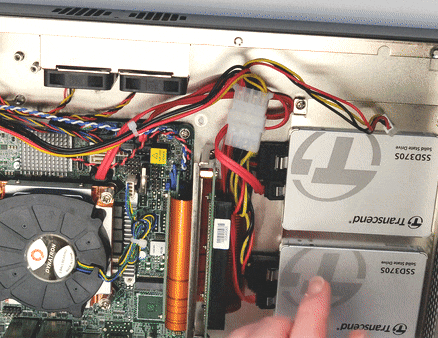
- Unplug the Molex connector for the drives
- Squeeze the locking tabs and pull the power cables out.
- Lift the power supply out of the case.
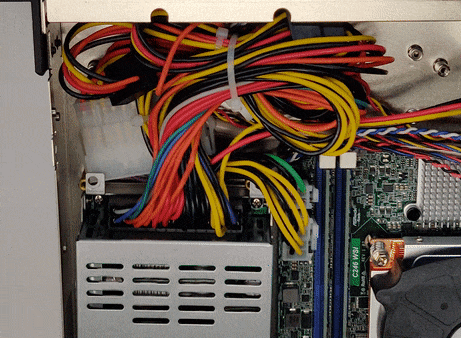
- Watch out for any zip ties that may still be holding it. Cut them if needed.
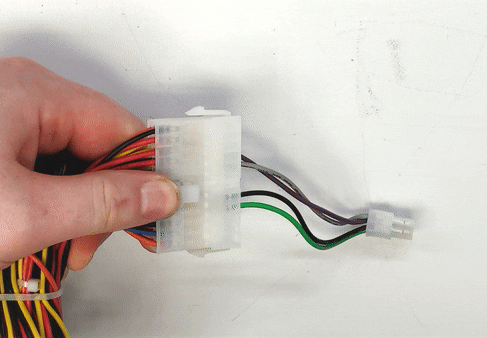
- Remove and save the 24pin to 4pin adapter
- Leave the system sitting on a flat surface for this next step.
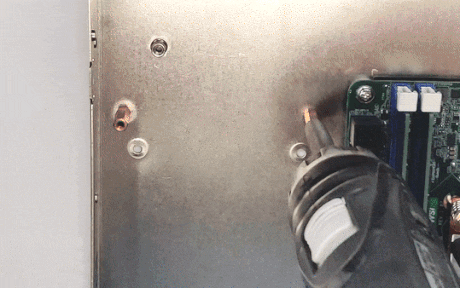
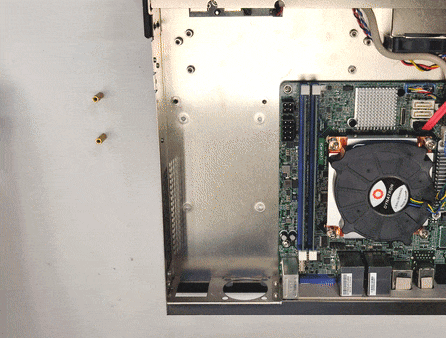
- Remove the 5mm standoffs from where the power supply was screwed in.
- Keeping the system sitting flat on a surface, drop in the new power supply.
- Re-install the standoffs in the back. They will hold the power supply in place.
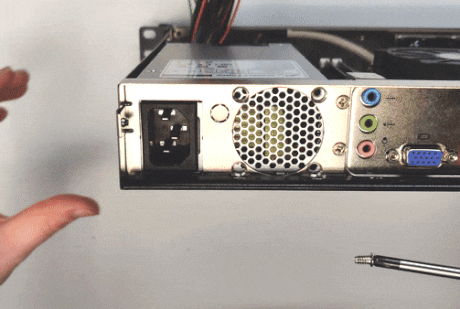
- Install the 2 coarse thread screws into the back of the power supply.
- Use the smaller 2 of the 4 you removed earlier.
- Watch the 2 clips below for final cabling and assembly.