Drivers and Manuals
Drivers (INF files for deployment software or manual installation)
Frequently Asked Questions (FAQ)
No, it does not. This model uses a laptop graphics card, which expects a battery. A fake battery is presented to the system so the graphics card runs at full speed. 
Terminal blocks support a maximum of 15 amps.
Input Voltage : 9-23v – must use both connectors
Input Voltage: 24-48v – use bottom connector only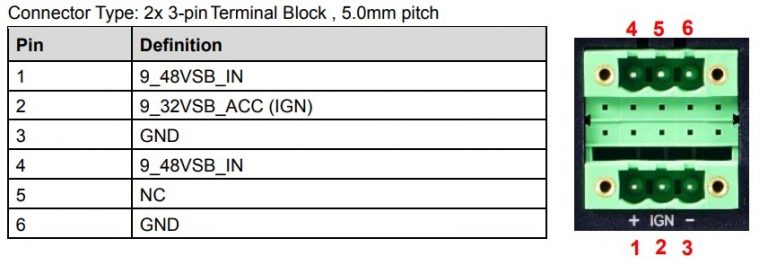
Flip the switch under the maintenance panel to AT mode.
See below for a step by step guide.
The DIO module requires software implementation by the user. The file linked below contains example code.
Code Download
If you need an additional mating connector for your system’s power port, you can acquire our CBP123 component from our website, here.
Enabling Auto Power On
The GM-1000 has two options for auto power on. In this section we will go over both with instructions.
Option 1: Hardware
The easiest and most reliable method of enabling auto power on for the GM-1000 is through the hardware, which uses a switch underneath the front panel. The downside of this method is that the power button is completely disabled. If you manually shut down the PC, you will need to cycle power to restart it. If that is an issue for your use case, use option 2 instead.
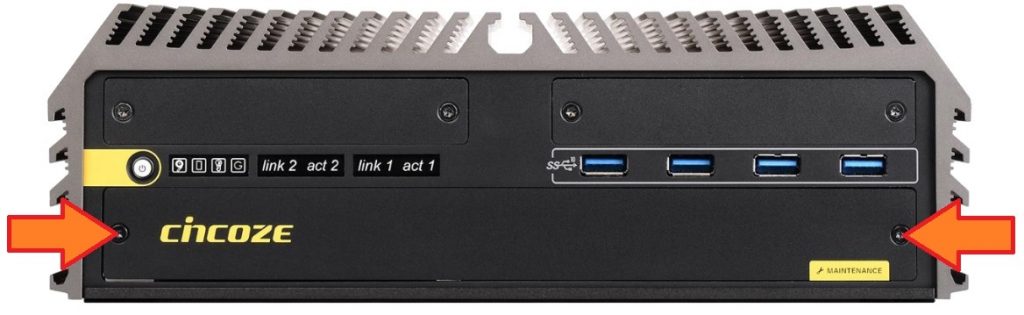
- Loosen the two captive Torx T10 screws on the front maintenance plate.
- Remove the plate.
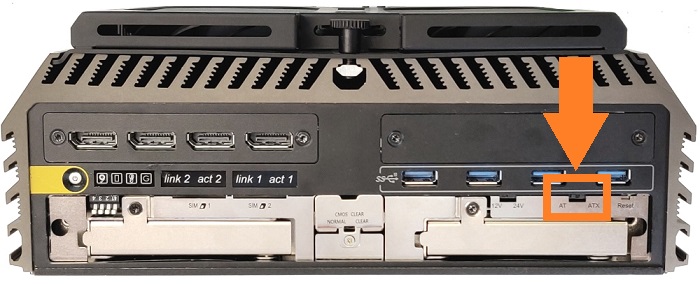
- Locate the AT/ATX switch

- Slide the switch to AT mode to enable auto power on.

- Slide the switch to ATX mode to disable auto power on.
Option 2: BIOS
- Power on the system and immediately press the Del key a few times to access the BIOS
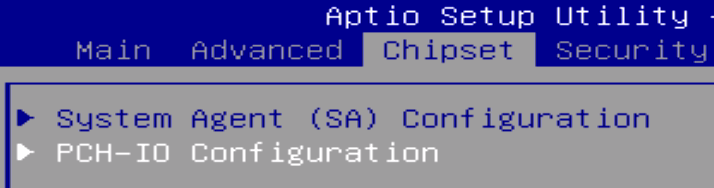
- Navigate over to the Chipset tab and open the PCH-IO Menu
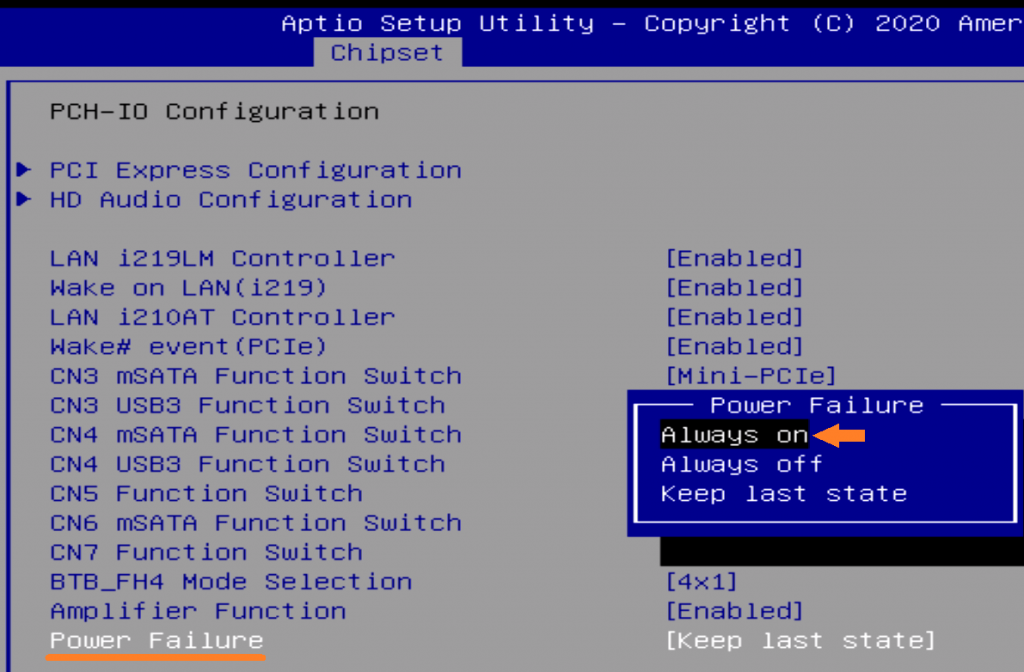
- Locate the Power Failure option
- Use the arrow keys to select “Always On”, then press enter
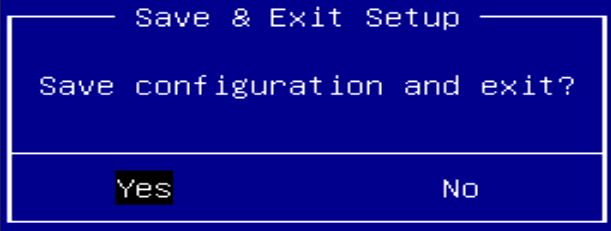
- Press F10 to save and exit.
- Auto power on is now enabled.
How to Clear the CMOS
If the GM-1000 fails to power on or is otherwise unresponsive, clearing the CMOS may help. It will also restore the BIOS to factory defaults.
- Unplug the GM-1000 from power and all other devices.
- Loosen the two captive Torx T10 screws on the front maintenance plate.
- Remove the plate.
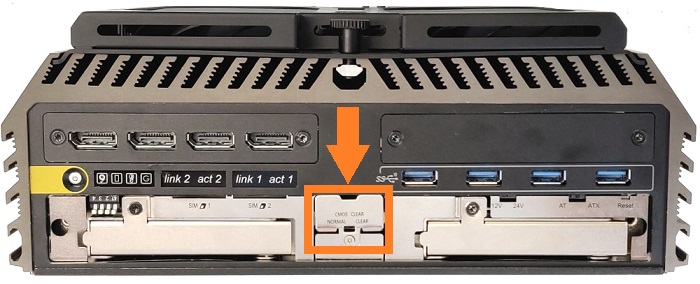
- Locate the CMOS battery tray
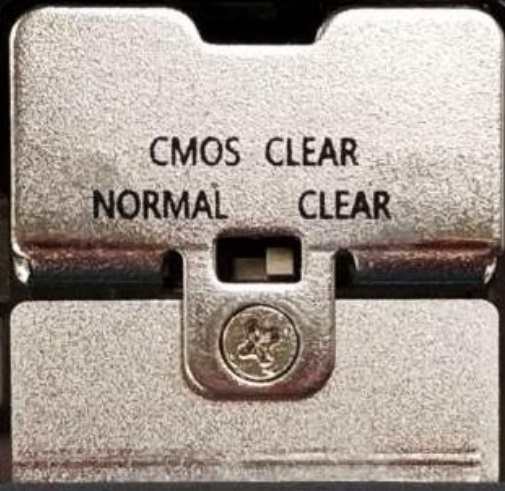
- Slide the switch to the clear position
- Leave the switch in clear for 30 seconds
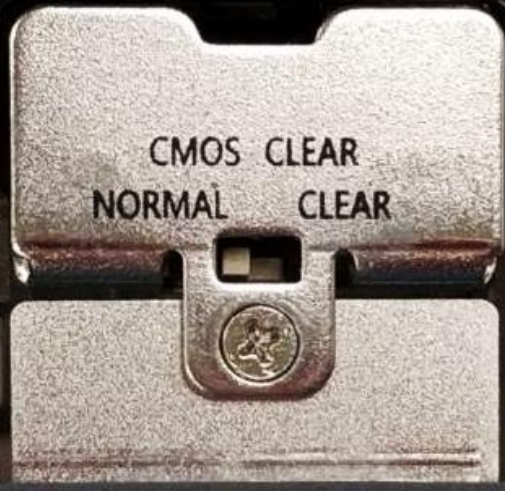
- Slide the switch back to normal
- The CMOS is now cleared
NOTE: The unit may power cycle several times before it boots up. This is normal.
Graphics Card Comparison
The external fan option is required when using a graphics card. The relative performance of the two GPU options is shown below via Passmark score. Note that these are embedded MXM formfactor cards and thus slower than their PCI-E counterparts.
Nvidia RTX A1000
Nvidia Quadro P2000
AMD Radeon E9174


Wall mounting brackets
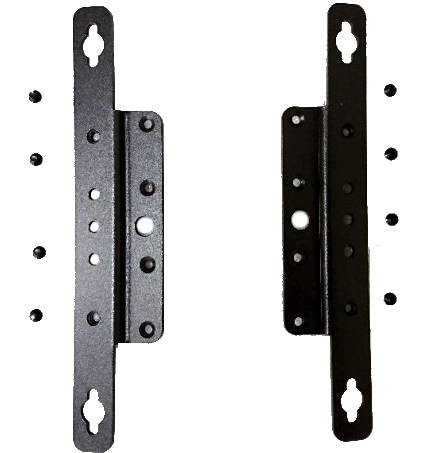
- Locate the wall mounting brackets and screws in the accessory box
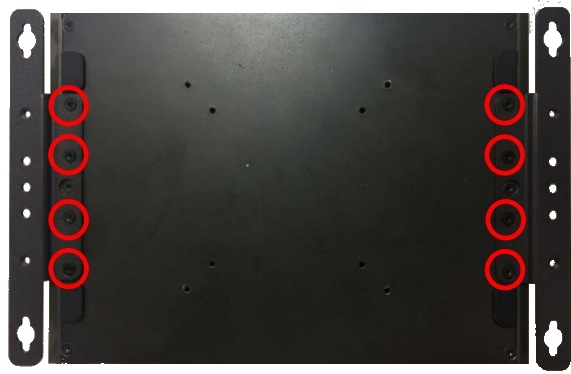
- Using a Torx T10 driver, screw the brackets into the bottom of the system